Implementing Super Addon Manager
Because of its simplicity and code-free nature (= no risk of accidentally breaking your addon), Super Addon Manager is the ideal solution if you wish to support automated checking of your addons for updates. This step-by-step guide will show you how to implement Super Addon Manager support in your addon. Side Note: If you offer a paid version of your addon, please consider paying me a percentage of your earnings (1% or higher) to help keep this project alive. On BlenderMarket, you can add me (BlenderDefender) as a collaborator to pay me automatically.
Preparation:
If your Addon only consists of one single file, you have to turn it into a folder addon. Just create a new folder (with the same name as the addon) and rename your script into __init__.py. This exact filename is very important! After doing this, you're set up for implementing Super Addon Manager.
Setting up the endpoint:
The first step to implementing support for Super Addon Manager is setting up a so called "endpoint", a file that is publicly available through the internet which contains all the data necessary for Super Addon Manager to check for updates. This file is essential for the update process and it needs to be updated when you publish a new release of your addon, but fortunately, it is really easy to set up.
Setup using our endpoint builder tool:
You can set up or update an endpoint in less than a minute using our endpoint builder tool. We'd recommend using this tool, because it generates working endpoints really fast. If you decide to use this tool, you can continue this article here.
Manually setting up the endpoint:
If you decide to set up the endpoint manually, you'll have to create a json file that looks like this:
{
  "schema_version": "super-addon-manager-version-info-1.0.0",
  "versions": [
    {
      "version": [0, 0, 0],
      "allow_automatic_download": true,
      "download_url": "https://www.example.com/my-addon-0.0.0.zip",
      "minimum_blender_version": [2, 83, 0],
      "api_breaking_blender_version": [2, 90, 0]
    }
  ]
}
The schema version always stays the same, so you can just copy and paste it to your file. You then create an array called "versions" and add an object to it:
{
  "schema_version": "super-addon-manager-version-info-1.0.0",
  "versions": [{}]
}
This object MUST have the minimum Blender version, the version of your addon (both as array of numbers) and the download URL specified:
{
  "version": [0, 0, 0],
  "download_url": "https://www.example.com/download-my-addon",
  "minimum_blender_version": [2, 83, 0]
}
If you allow automatic downloads, the download URL must be a link to the zip file of your addon:
"allow_automatic_download": true,
"download_url": "https://www.example.com/my-addon-0.0.0.zip",
If you make an update for an older version of Blender that won't work with the latest Blender version, you can set the API breaking Blender version to the first version of Blender, where your addon doesn't work due to API changes:
"api_breaking_blender_version": [3, 0, 0]And finally, if you want to include release notes or some other sort of description, you can add an optional release description parameter:
"release_description": "A description of your release goes here."Quick Setup in VSCode
If you want to quickly create an Endpoint in Visual Studio Code, you can add the following snippet in the global settings file. VSCode will then provide autocompletions and validate endpoints named "*.endpoint.json" or "*-endpoint.json".
"json.schemas": [
  {
    "fileMatch": ["*/*endpoint.json"],
    "url": "https://super-addon-manager.netlify.app/data/sam-endpoint-v1.schema.json"
  }
]
Hosting the endpoint:
You're now set up for publishing your endpoint to the web. Upload the endpoint file to a host, where you can easyly change the file content without changing the file URL. GitHub is a great place where you can host your file for free.
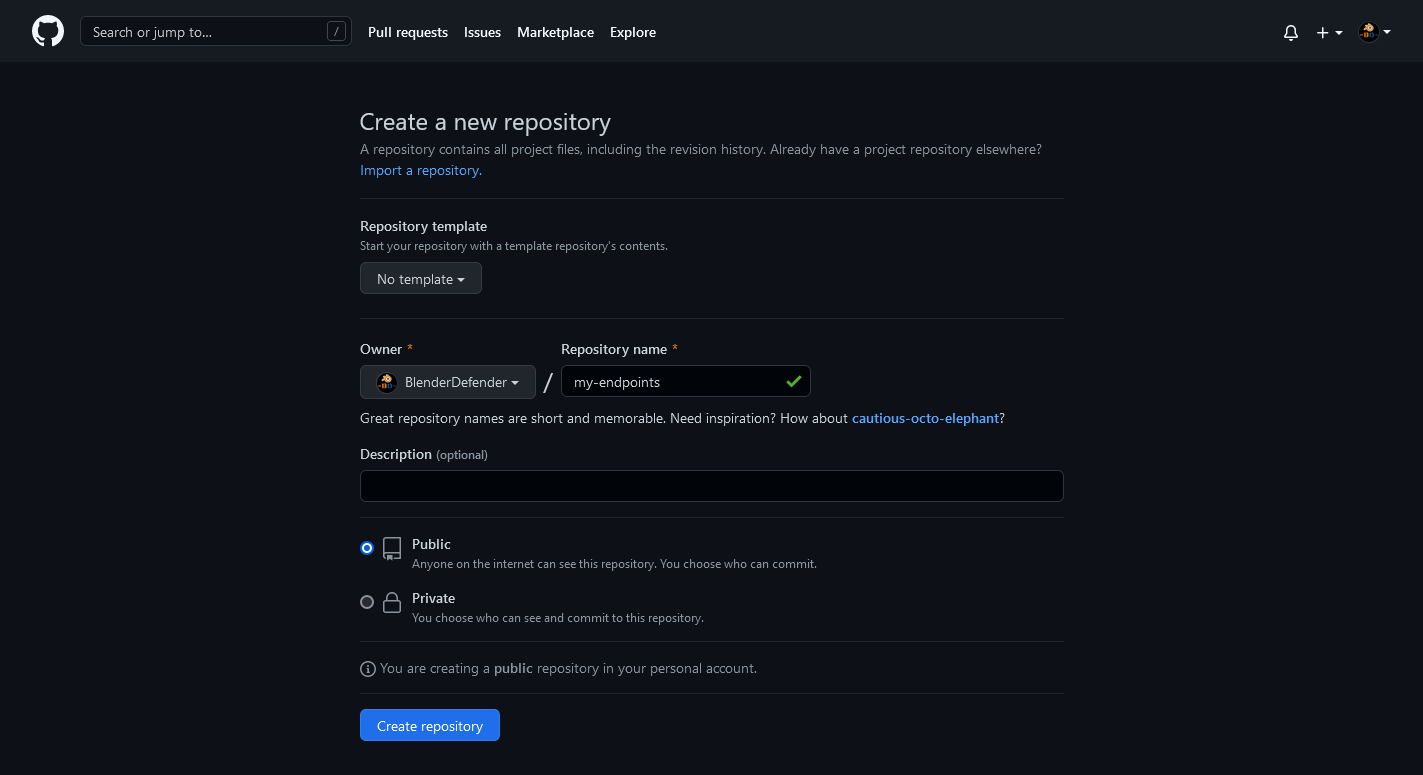
To start, we recommend to create a public repository where you store all of your Super Addon Manager endpoints, e.g. my-endpoints, sam-endpoints, ... This makes updating your endpoint without messing up other files much easier.
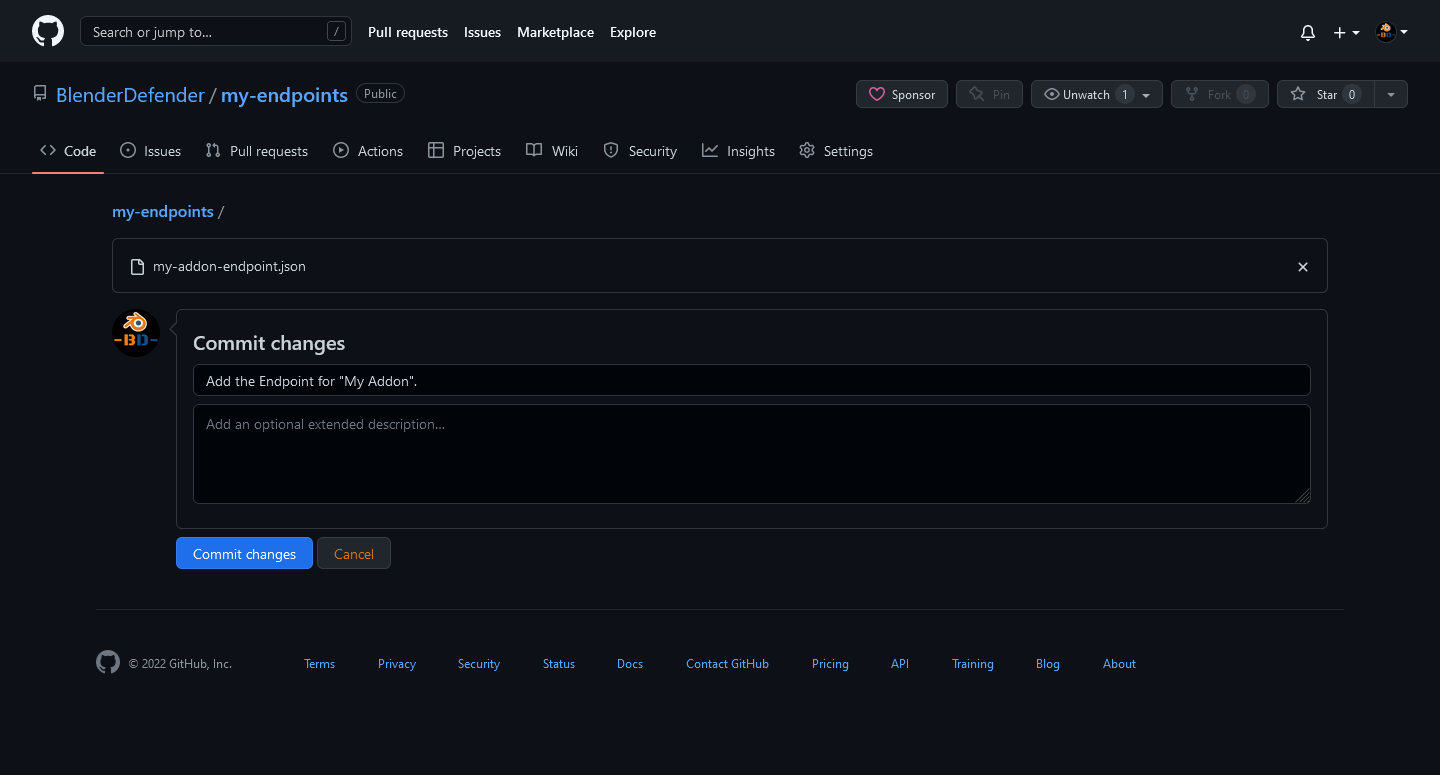
After you have initialised your repository, click on (Add File >>) Upload files to upload your endpoint and click "Commit changes".
Once you're finished uploading your file, you have to copy the URL to the file for the next step. Please make sure that at the URL, the file is in raw data and not embedded into any HTML page. On GitHub, you can click the "Raw" Button to access the raw file data and copy its URL.
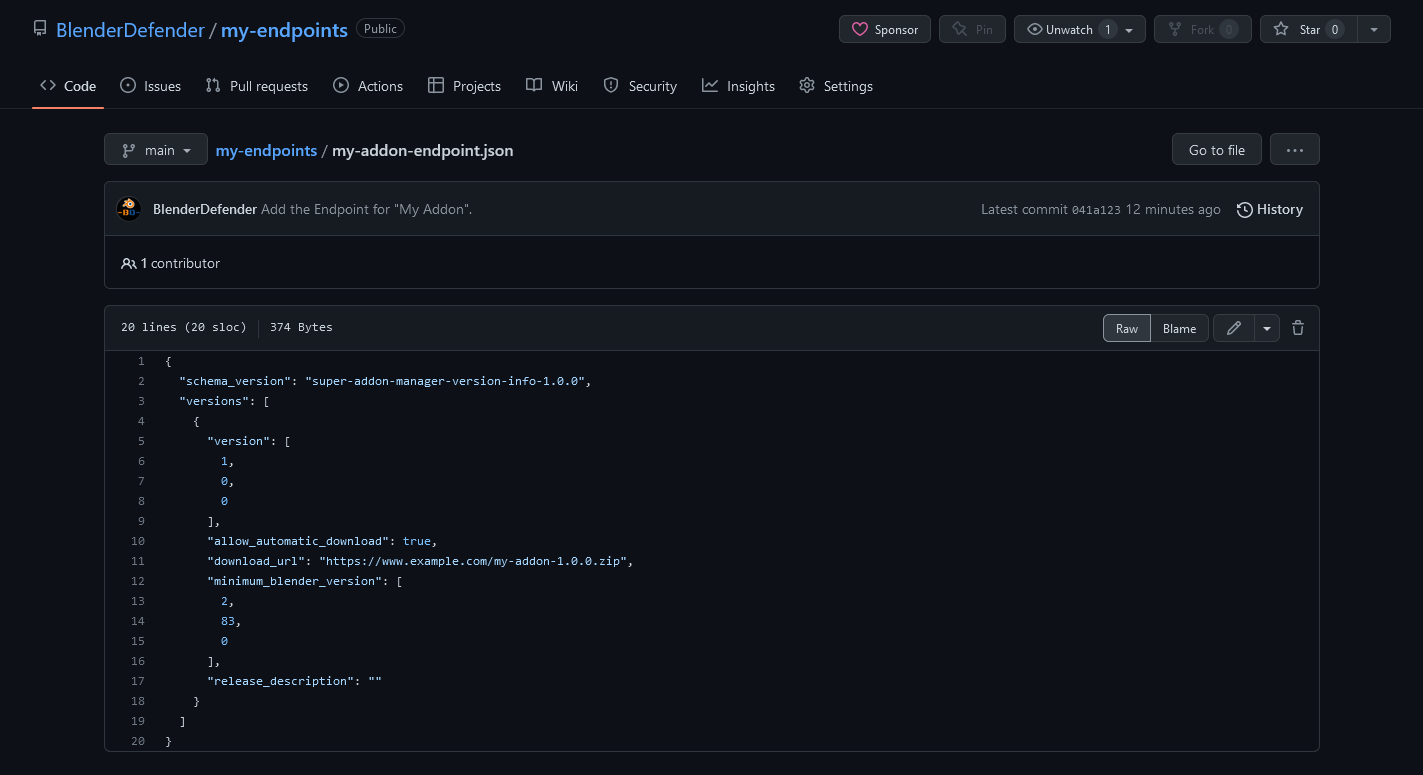
The endpoint URL of this example is https://raw.githubusercontent.com/BlenderDefender/my-endpoints/main/my-addon-endpoint.json
Setting up your addon:
First of all, please make sure that your current bl_info is valid. A good bl_info looks like this:
bl_info = {
    "name": "Your Addon",
    "author": "Your name",
    "version": (0, 0, 0),
    "blender": (2, 83, 0),
    "description": "The best Blender Addon ever created!",
    "doc_url": "[URL to your documentation page]",
    "tracker_url": "[URL to your issue report page]"
}
After checking your bl_info looks like this, all you have to do is to add another parameter endpoint_url to the bl_info dictionary and paste the URL you've got in the previous step in here like this:
"endpoint_url": "[URL to your endpoint file]"The whole bl_info should now look like this:
bl_info = {
    "name": "Your Addon",
    "author": "Your name",
    "version": (0, 0, 0),
    "blender": (2, 83, 0),
    "description": "The best Blender Addon ever created!",
    "doc_url": "[URL to your documentation page]",
    "tracker_url": "[URL to your issue report page]",
    "endpoint_url": "[URL to your endpoint file]"
}
Showing, that you support Super Addon Manager:
Enabling support for Super Addon Manager is only half of the rent: People can only keep your addon up to date automatically, if they are using Super Addon Manager. There's multiple ways to remind them to get Super Addon Manager:
Linking to Super Addon Manager:
Links on your description pages:
Obviously, the easiest way to show, that you support Super Addon Manager, is to add a short text with a link in your addon description or README. You can use something like this:
# Addon Updates:

This addon can be updated automatically with Super Addon Manager. Learn more on their site: https://bd-links.netlify.app/sam
Links from your addon preferences:
If you want to, you can paste the following code snippet into the draw function of your addon preferences or a panel:
if not "Super Addon Manager" in context.preferences.addons:
    layout.separator()
    layout.label(text="This addon can be updated automatically with Super Addon Manager.")
    layout.operator("wm.url_open", text="Learn more!", icon="URL").url="https://bd-links.netlify.app/sam"
This snippet checks, if Super Addon Manager is installed and enabled, and if that's not the case, it displays a message, saying, that your addon can be updated with Super Addon Manager and a link to the SAM homepage.
Deliver Super Addon Manager directly with your addon:
If your offering your addon on Gumroad, BlenderMarket or similar pages, you can deliver Super Addon Manager directly with your addon.